2NZ-FE LUBRICATION OIL PUMP REMOVAL
PROCEDURE

 1.REMOVE FRONT WHEEL RH
51441C
2.REMOVE ENGINE UNDER COVER RH
11212
3.REMOVE NO. 2 CYLINDER HEAD COVER
16100
4.REMOVE ENGINE WATER PUMP ASSEMBLY
12261
5.DISCONNECT VENTILATION HOSE
12262
6.DISCONNECT NO. 2 VENTILATION HOSE
19500D
7.REMOVE NO. 1 IGNITION COIL
11201
8.REMOVE CYLINDER HEAD COVER SUB-ASSEMBLY
11213
9.REMOVE CYLINDER HEAD COVER GASKET
12305
10.REMOVE ENGINE MOUNTING INSULATOR SUB-ASSEMBLY RH
Place a wooden block on a jack underneath the engine assembly.
Jack up the engine lightly.
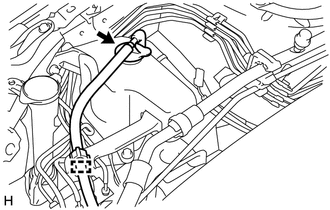
Remove the reserve tank cap sub-assembly.
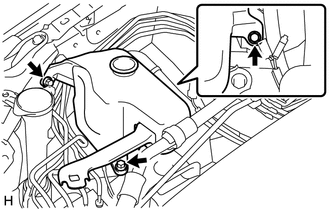
Remove the 3 bolts and radiator reserve tank assembly.
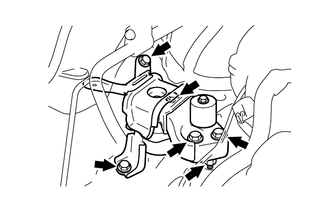
Remove the 5 bolts, nut and engine mounting insulator sub-assembly RH.
13407
11.REMOVE CRANKSHAFT DAMPER SUB-ASSEMBLY
15100Q
12.REMOVE CRANKSHAFT POSITION SENSOR
11101J
13.REMOVE CAMSHAFT TIMING OIL CONTROL VALVE ASSEMBLY
12315A
14.REMOVE ENGINE MOUNTING BRACKET RH
15100
15.REMOVE OIL PUMP ASSEMBLY
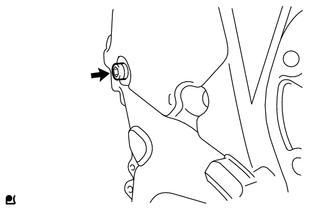
Using an 8 mm hexagon socket wrench, remove the taper screw plug.
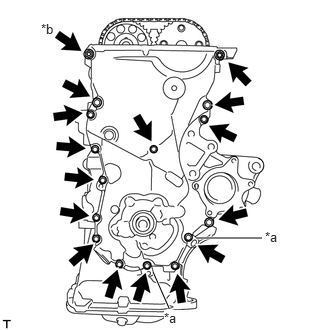
| *a | Wire Harness Bracket |
| *b | Nut |
Remove the 15 bolts, nut and 2 wire harness brackets.
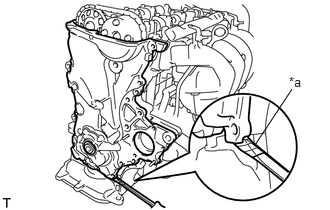
| *a | Protective Tape |
Remove the oil pump assembly by prying between the oil pump assembly and cylinder head sub-assembly or cylinder block sub-assembly with a screwdriver as shown in the illustration.
- NOTICE:
-
Be careful not to damage the contact surfaces of the cylinder head sub-assembly, cylinder block sub-assembly and oil pump assembly.
- HINT:
-
Tape the screwdriver tip before use.
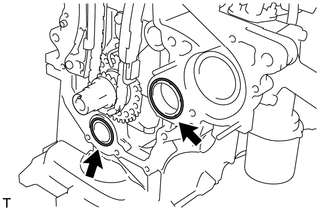
Remove the 2 O-rings from the cylinder block sub-assembly and oil pan sub-assembly.
15100C
16.REMOVE OIL PUMP SEAL
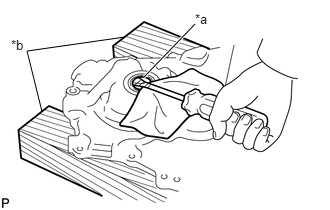
| *a | Protective Tape |
| *b | Wooden Block |
Using a screwdriver with its tip wrapped with protective tape, remove the oil pump seal.